Installing 5 4 Deck Boards
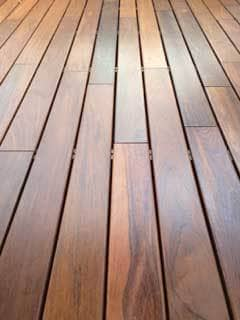
How To Install Hardwood Decking Decking Installation Guide

Installng 5 4 X6 Cedar Decking Youtube

How To Install Decking Boards How To Build A Deck Part 4 5 Youtube
Treated Wood Decking Done Right Extreme How To

6 Composite Decking Installation Mistakes To Avoid

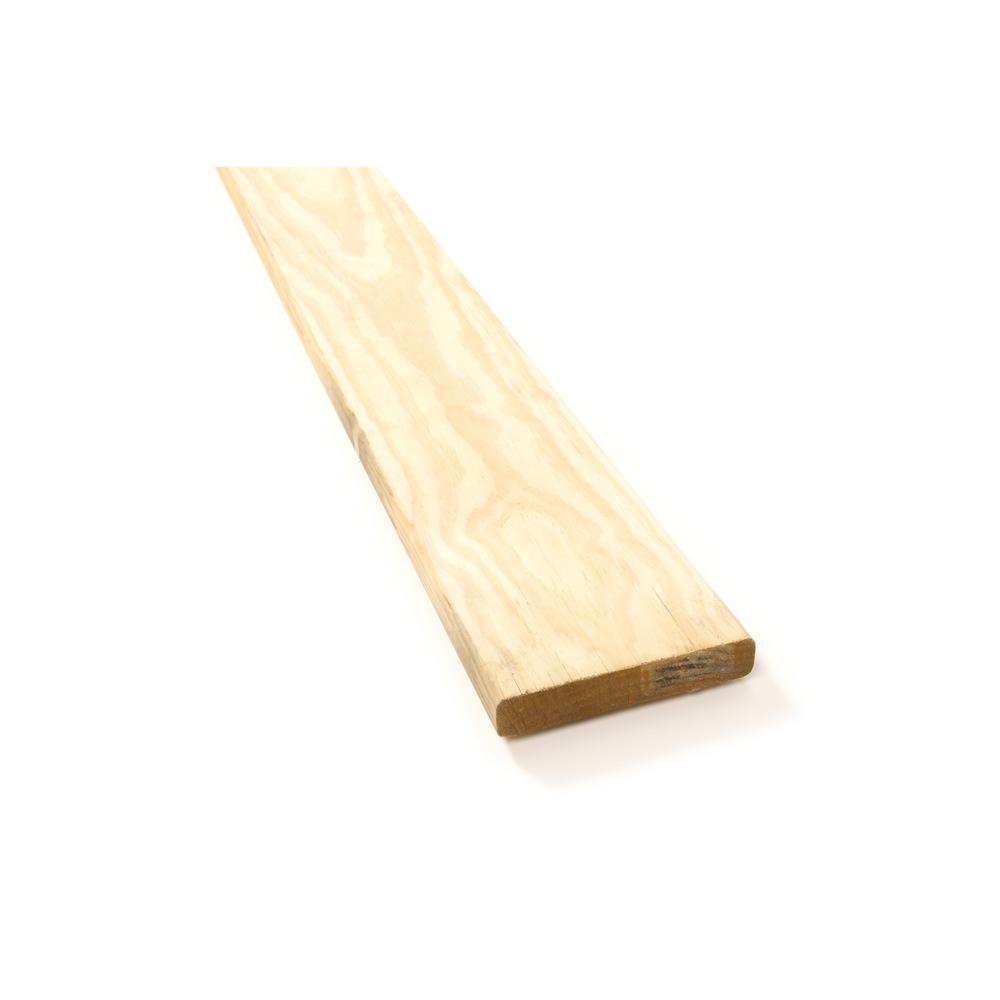
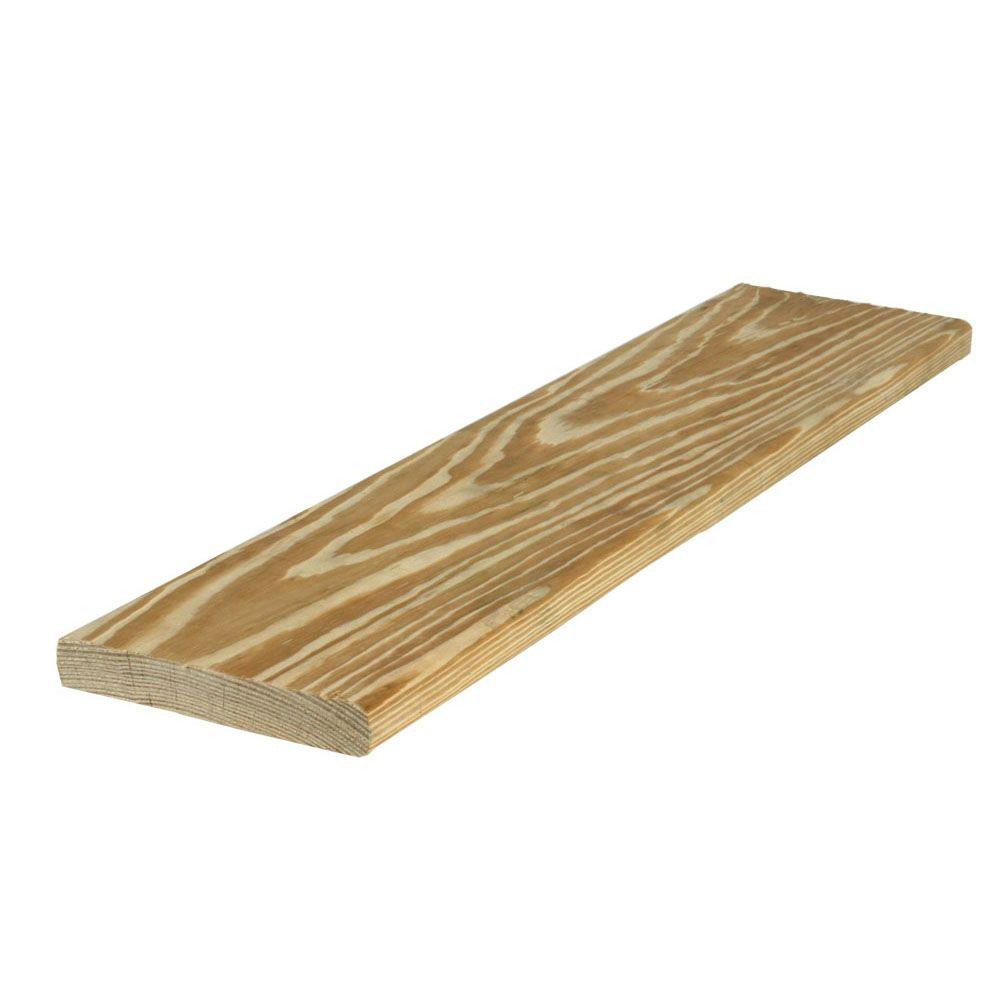
Severe Weather 5 4 In X 6 In X 8 Ft Premium Pressure Treated Lumber In The Pressure Treated Lumber Department At Lowes Com

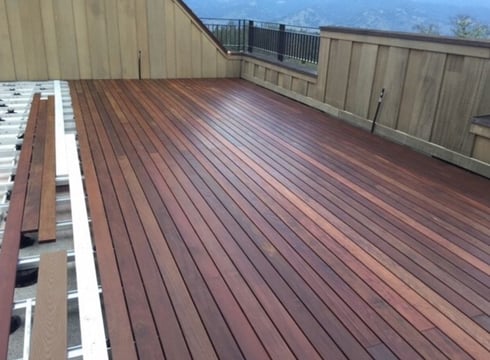
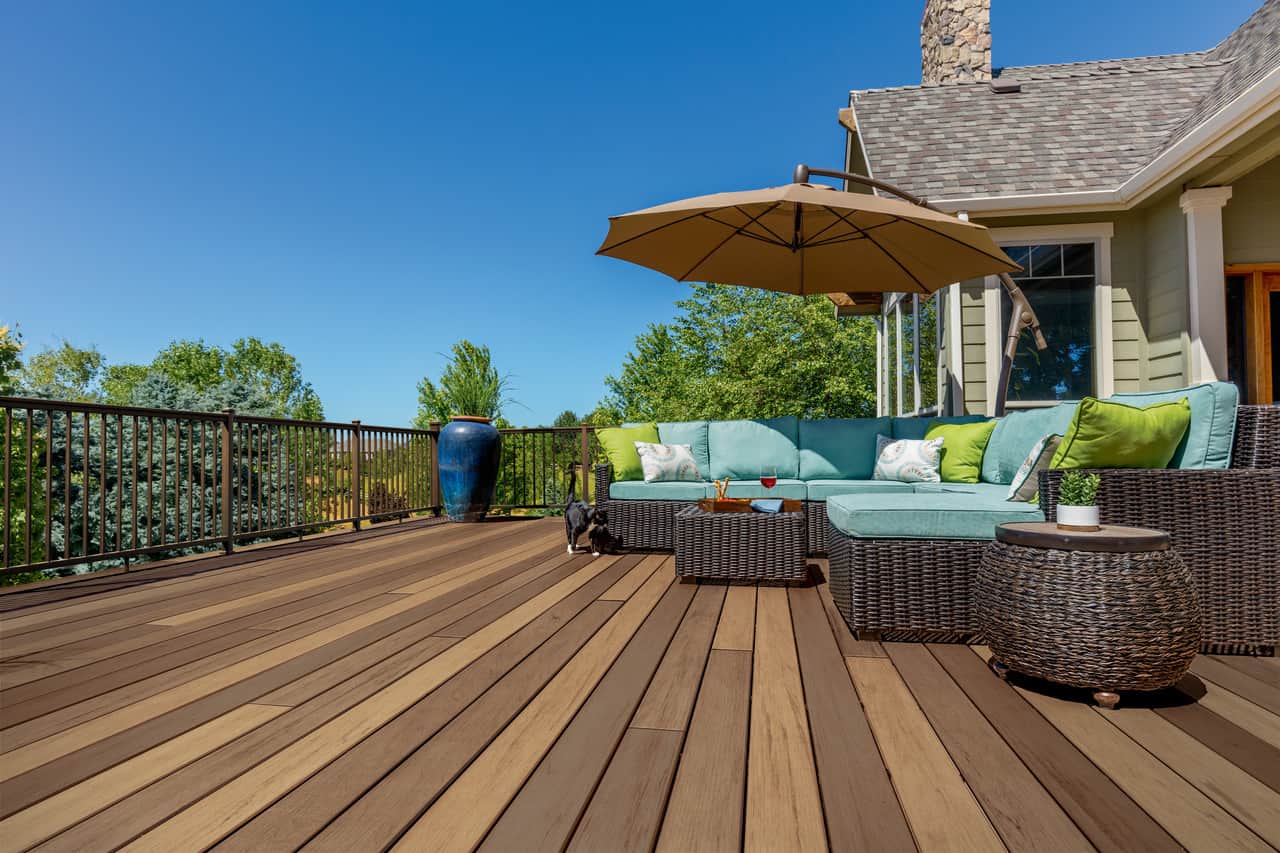
Most deck boards are relatively straight and easy to lay but there are always a few that need a little extra coaxing.
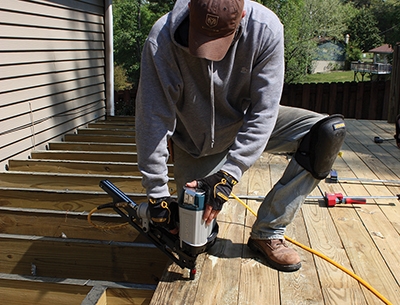
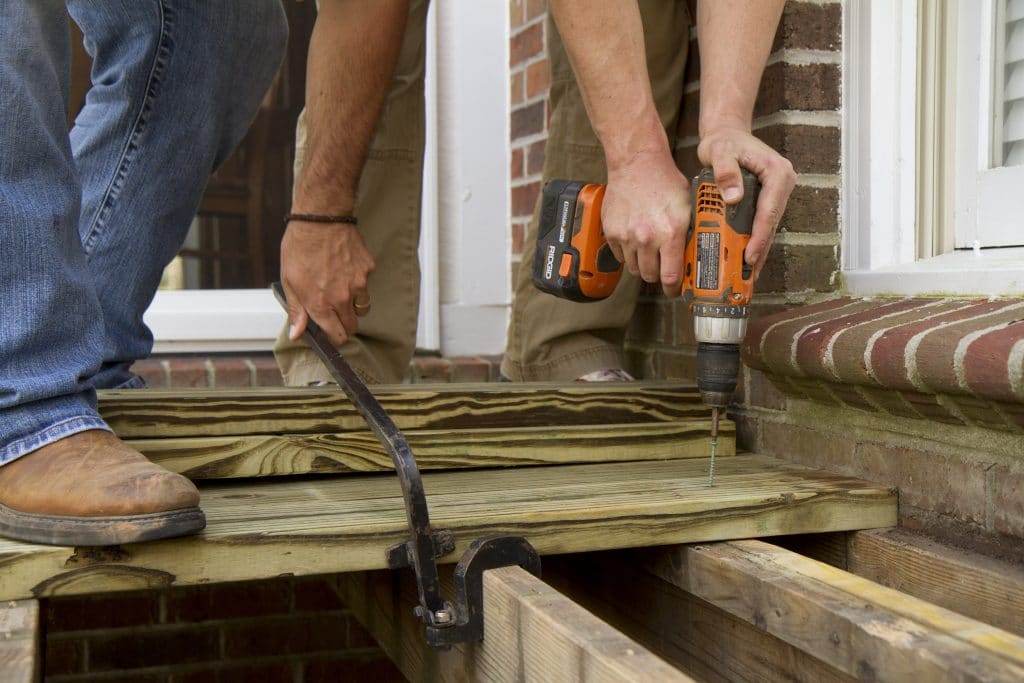
Installing 5 4 deck boards. Use two nails across a 2 x 4 and three across a 2 x 6. Deck spacing isn t anything to take lightly. Use 3 1 4 long nails on nominal decking and 3 nails for 5 4 decking. When deck boards get wet they do not get wet consistently.
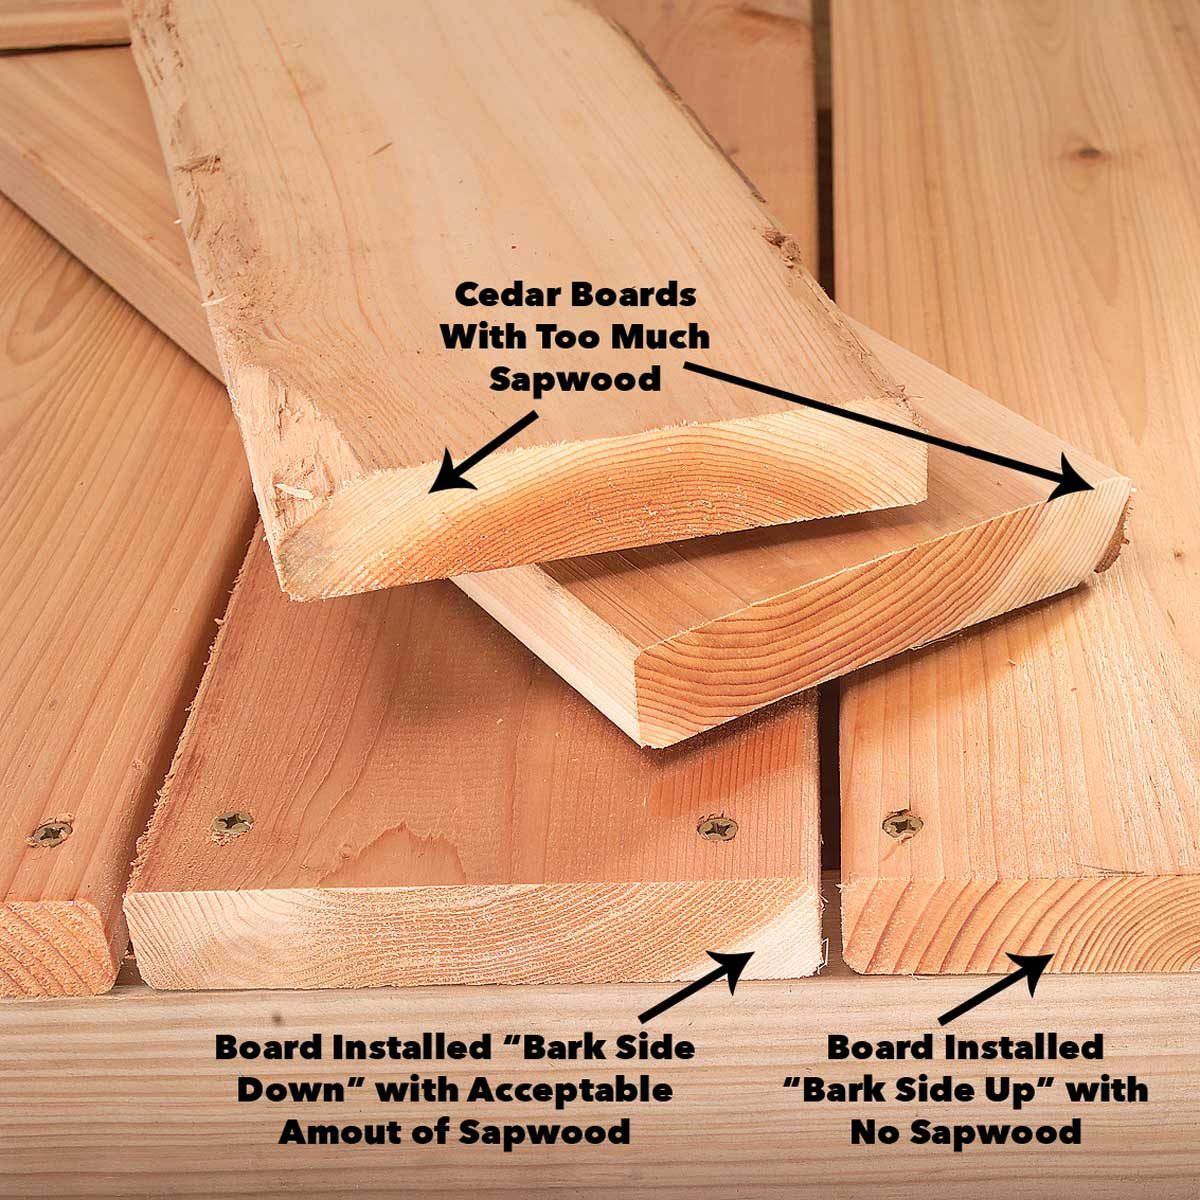
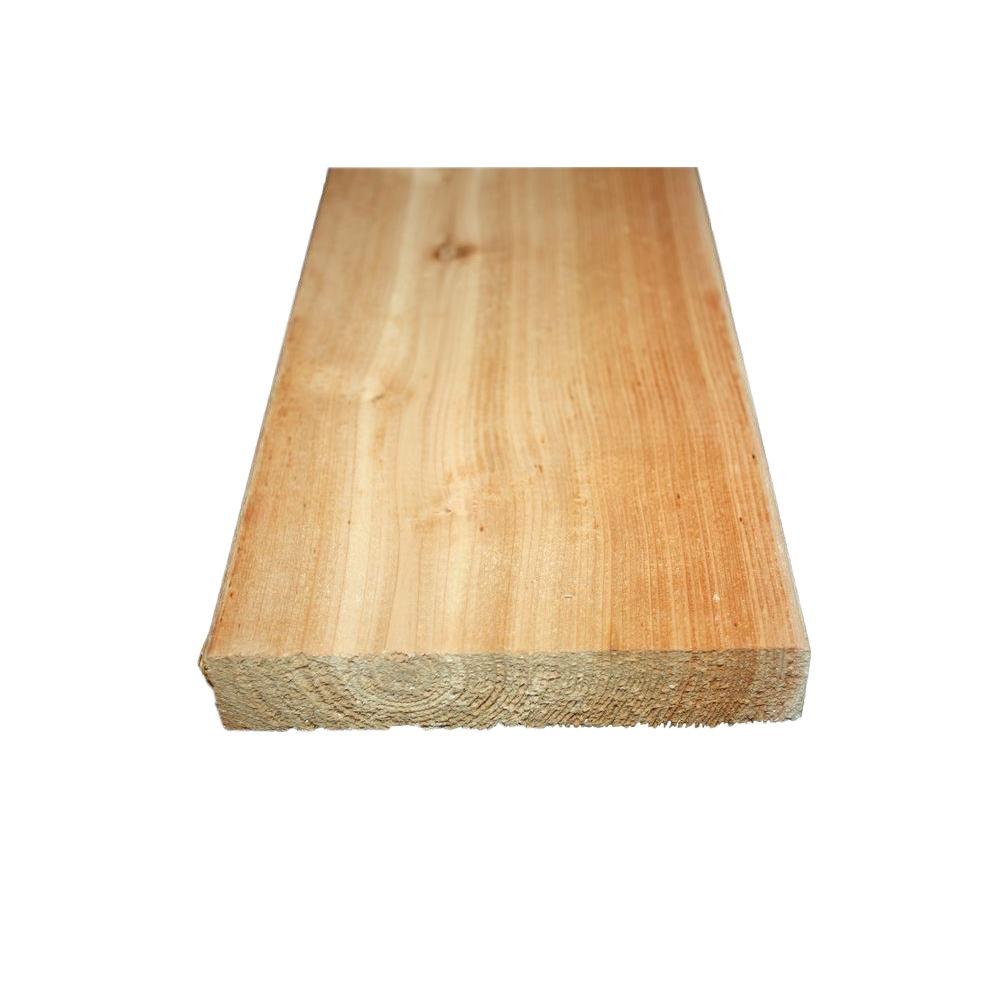
Orient the deck boards so the growth rings in the end grain have the arc facing up. Many deck builders overhand the decking over the frame by about 1 4. When using pressure treated wood that s still saturated with preservative install the boards without a gap between them. This creates dimensional changes in the wood.
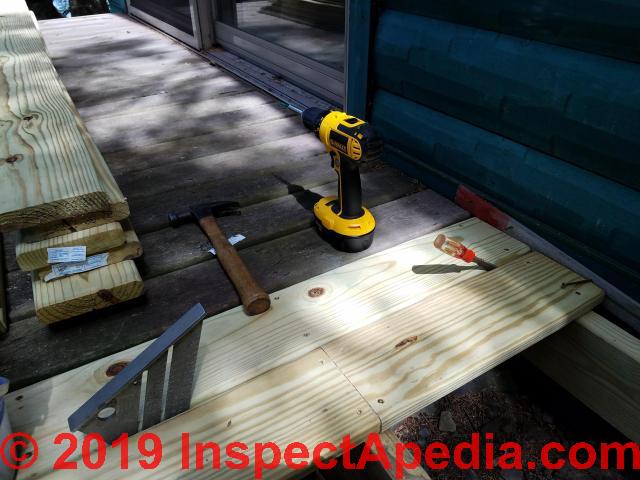
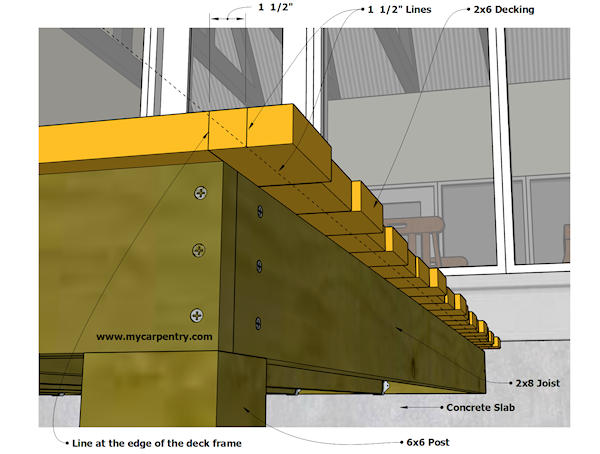
The wood on the top of each board is exposed to more moisture than the wood on the bottom. Installing double joists where the boards meet in a run takes pre planning meaning you need to know where the boards will butt and have a double joist. Screws take longer to drive than nails but hold boards more securely and will allow for easier removal if necessary. Deck boards no matter the thickness 5 4 or 2 should always be fastened on top of a double joist so there is enough nailing edge on each decking board where they are butted.
As a result the wood fibers on the top side expand more than the fibers on the bottom. If you install your decking using wet boards pressure treated decking that has not yet dried out then you should install them with no gap as a gap will be created as they dry and shrink. Wood warps in the opposite orientation of the growth rings. Pull back on the chisel until the deck board is tight to your spacer and drive the nails.
Stagger butt joints as much as possible for a nicer appearance. Proper deck board spacing should have a 1 8 inch gap after the decking has dried out. Drive nails at a slight angle toward each other. As the wood dries it will shrink leaving a small gap between each board.
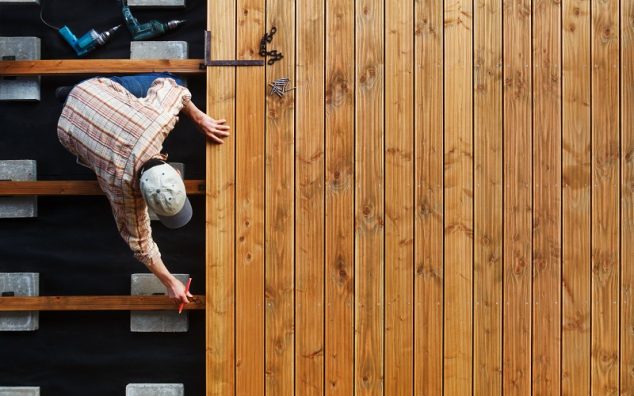
Start installing deck boards at the outside of the deck and work towards the house wall.

5 4 X 6 X 10 Premium Pressure Treated Decking Schillings
Deck Floor Board Spacing Gaps Proper Gap Size To Leave Between Deck Boards For Drainage And Drying And Extra Steps To Take To Protect Deck Joists From Rot

Can You Install Tile Over A Porch Floor Fine Homebuilding

5 4 X4 Select Tight Knot Cedar Decking Cedar Deck Deck Railings Wooden Decks
Deck Installation Tips Installing Decking Over Sleepers
Wood Decking
2020 Deck Railings Posts Wood Board Installation Guide Homeadvisor
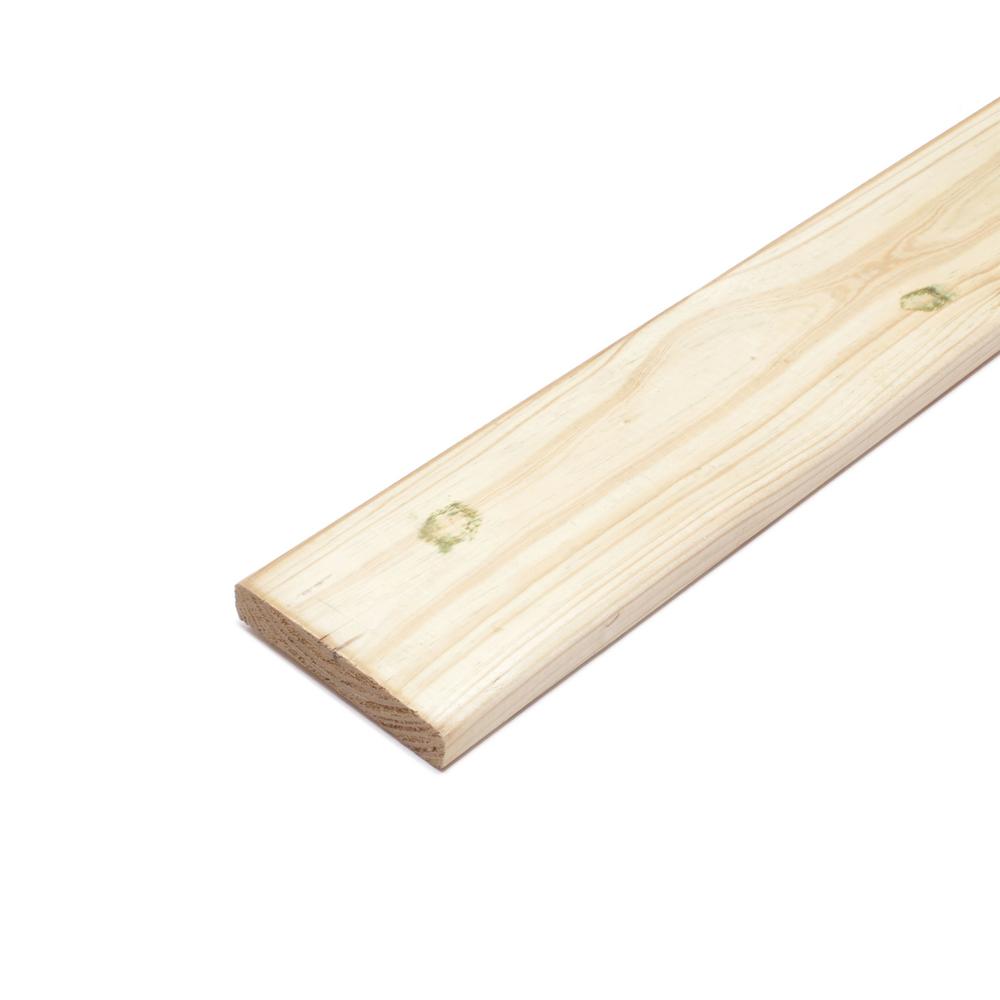
Weathershield 5 4 In X 6 In X 10 Ft Standard Ground Contact Pressure Treated Pine Decking Board 253919 The Home Depot

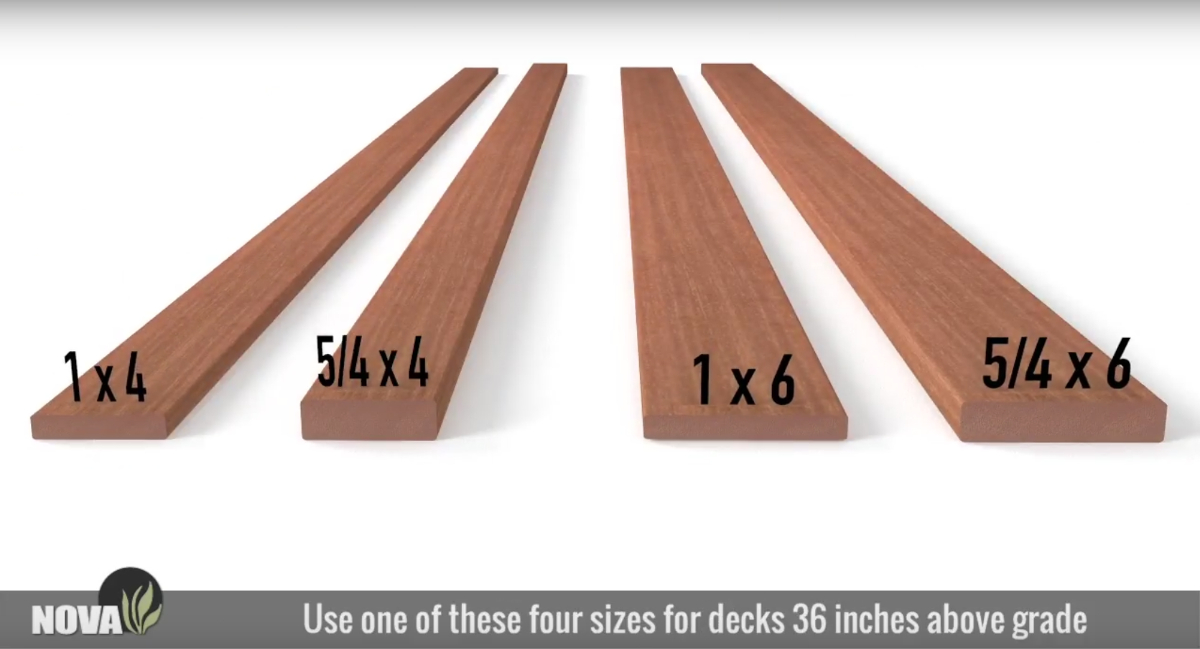
Deck Board Dimensions How To Choose The Right Size
Weathershield 5 4 In X 6 In X 16 Ft Standard Pressure Treated Lumber 128966 The Home Depot

Building A Deck With Treated Wood The Ultimate Guide Lonza
Weathershield 5 4 In X 6 In X 12 Ft Ground Contact Pressure Treated Premium Pine Decking Board 253944 The Home Depot
How Many Screws Should You Put Per Deck Board
Yard Home Premium Pre Grooved Ipe Wood Decking 1 In X 6 In Ipe Pre Grooved Fas 1 X6 Pre Grooved Ipe 3 4 X 5 5 X 84

Top Choice 5 4 X 6 X 16 Premium Treated Decking Pressure Treated Deck Boards Diy Deck Building A Deck

Severe Weather 5 4 In X 6 In X 8 Ft Premium Pressure Treated Lumber In The Pressure Treated Lumber Department At Lowes Com

Ac2 5 4 X 6 Above Ground Green Pressure Treated Thick Decking At Menards

Diy Floating Deck Part 4 Trimming Deck Boards And Rounding The Edges Floating Deck Diy Deck Deck Boards
1

How To Replace Deck Boards Youtube

5 4 X 6 X 16 Premium Western Red Cedar Decking Schillings

Top Choice 5 4 In X 6 In X 12 Ft Cedar Deck Board In The Dimensional Lumber Department At Lowes Com

15 Modern Deck Building Tips And Shortcuts Modern Deck Diy Deck Building A Deck

Fiberon 15 16 In X 5 1 4 In X 12 Ft Ipe Straight Edge Capped Composite Decking Board Brdth Ipe 12 A Installing Hardwood Floors Deck Flooring Hardwood Floors

Spacing 5 4 Cedar Or Pressure Treated Decking In 2020 Treated Wood Deck Pressure Treated Deck Wood Deck Designs
The Fun Part Installing Deck Boards Wood It S Real Wood It S Real
5 4 In X 6 In X 16 Ft Premium Radius Edge Cedar Decking Board 731934 The Home Depot

How To Build A Deck Part 4 Laying Boards Youtube
Tips For Installing Composite Decking Timbertech

Install A Ground Level Deck Over A Concrete Patio

Armorguard 1 In X 5 1 4 In X 20 Ft Nantucket Gray Grooved Edge Capped Composite Decking Board 10 Pack Composite Decking Boards Composite Decking Fiberon
/cdn.vox-cdn.com/uploads/chorus_image/image/65890513/decks_3_x.0.jpg)
Decking Decisions This Old House

Access Denied Wide Plank Hardwood Floors Home Installing Hardwood Floors

Easy Diy Pressure Treated Wood Deck Skirting Ideas In 4 Days Deck Skirting Diy Porch Treated Wood Deck

Best Way To Flash A Ledger Board Deck Ledger Boards Are A Common Source Of Water Infiltration And It Can Be Years Befor Building A Deck Modern Deck Diy Deck

Weathershield 5 4 In X 6 In X 16 Ft Standard Ground Contact Pressure Treated Pine Decking Board 253919 The Home Depot Building A Floating Deck Deck Designs Backyard Floating Deck

Have You Considered Cedar Imitation Is The Sincerest Form Of Flattery Did You Ever Wonder Why So Many Other Produc Red Cedar Wood Cedar Deck Cedar Deck Stain

How To Stagger Deck Boards Home Guides Sf Gate

Ac2 5 4 X 6 Ground Contact Cedartone Premium Pressure Treated Decking At Menards

Faqs From Preservatives To Installation Treated Wood

Learn How To Install Trex Composite Deck Boards On Your Backyard Space Decksdirect

Azek Morado Acacia Curved Deck With Several Modified Heat Bent Deck Boards Artfully Crafted Into Several Outd Building A Deck Curved Deck Outdoor Living Deck